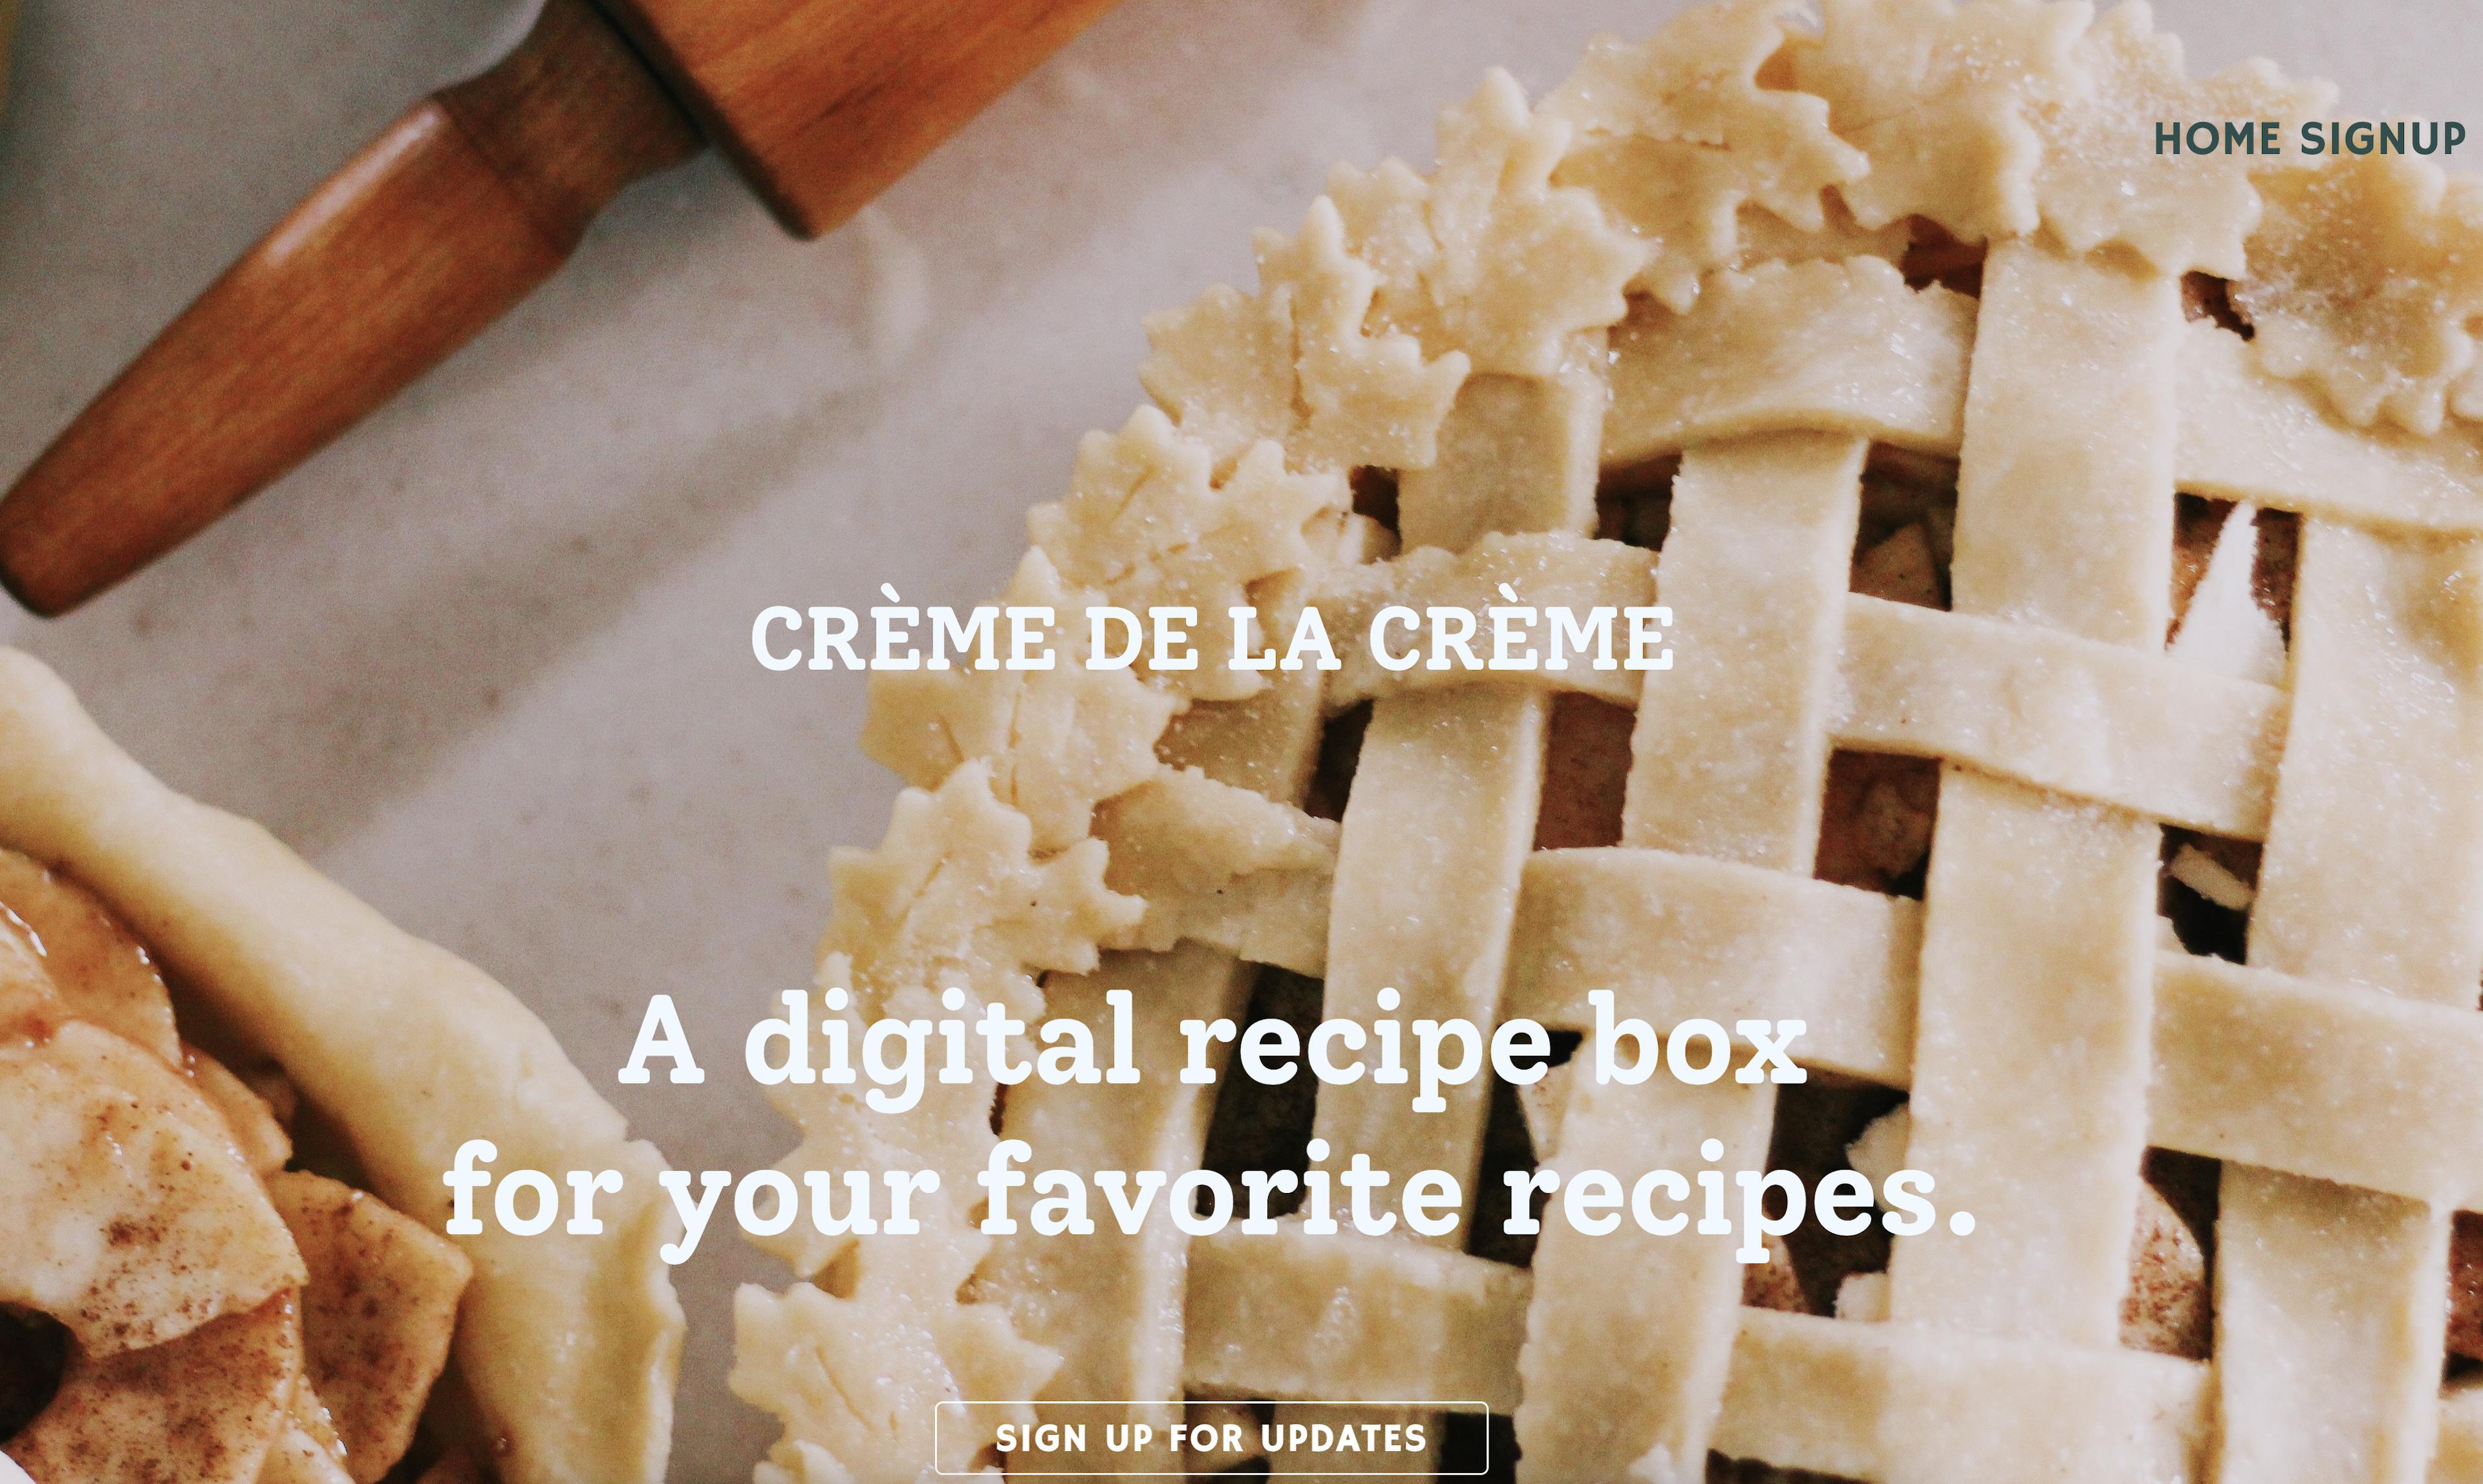
Creme de la Creme - from inspiration to deployment
Wednesday, March 6, 2024

Foodies and developers unite! I’m excited to share the journey of creating my digital recipe box app, from the initial spark of inspiration to the final deployment. This project was a labor of love, combining my passion for cooking and coding into one deliciously useful app.
Inspiration
The idea for the digital recipe box app came to me during one of my weekend baking sessions. I love experimenting with new recipes, but I often found myself sifting through numerous cookbooks, bookmarked web pages, and handwritten notes. I wanted a single place to store all my favorite recipes, with the ability to easily search, categorize, and share them.
Concept and Planning
1. Defining the Features
I started by brainstorming the features I wanted in the app:
- Recipe Storage: A database to store recipes with ingredients, instructions, and images.
- Search Functionality: The ability to search for recipes by name, ingredients, or category.
- Categorization: Tagging recipes with categories like breakfast, lunch, dinner, desserts, etc.
- User Accounts: Allow users to create accounts and save their favorite recipes.
- Sharing: Easy sharing of recipes via email or social media.
2. Sketching the UI
I sketched out a simple user interface on paper. I wanted the app to be clean and intuitive, with a focus on ease of use. The main screens included:
- Home Screen: Displaying featured recipes and a search bar.
- Recipe Detail Screen: Showing the recipe’s name, ingredients, instructions, and an image.
- User Profile Screen: Allowing users to view and manage their saved recipes.
- Add/Edit Recipe Screen: For users to add new recipes or edit existing ones.
Design
1. Wireframing
I used Figma to create wireframes based on my sketches. Wireframing helped me visualize the app’s layout and flow before diving into development. Here are some key wireframes:
- Home Screen: Featuring a grid of recipe cards, a search bar at the top, and navigation to other sections.
- Recipe Detail Screen: With a large image at the top, followed by the recipe’s name, ingredients list, and step-by-step instructions.
- Add Recipe Screen: A form for entering recipe details, including text fields for the name, ingredients, and instructions, and an upload button for the image.
2. High-Fidelity Mockups
Next, I created high-fidelity mockups to add colors, fonts, and styling. I chose a pastel color palette to give the app a warm, inviting feel, and used clean, sans-serif fonts for readability. I also designed a simple logo for the app, incorporating a chef’s hat and a recipe book icon.
Development
1. Setting Up the Environment
I set up a development environment with React for the frontend and Node.js with Express for the backend. I used MongoDB as the database to store recipe data.
2. Building the Frontend
- React Components: I broke down the UI into reusable React components, such as RecipeCard, RecipeDetail, SearchBar, and UserProfile.
- Routing: I used React Router to handle navigation between different screens.
- State Management: I used React’s useState and useEffect hooks to manage state and side effects, ensuring the app was responsive and dynamic.
3. Building the Backend
- API Endpoints: I created RESTful API endpoints for CRUD operations (Create, Read, Update, Delete) on recipes.
- User Authentication: I implemented user authentication using JWT (JSON Web Tokens), allowing users to securely sign up, log in, and manage their recipes.
- Data Storage: I used Mongoose to define schemas and interact with the MongoDB database.
Testing
1. Unit Testing
I wrote unit tests for both frontend and backend components to ensure individual parts of the app functioned correctly. I used Jest for JavaScript testing and React Testing Library for testing React components.
2. Integration Testing
I conducted integration tests to verify that different parts of the app worked together seamlessly. For example, I tested the flow from adding a new recipe to viewing it in the recipe list.
Example: Testing the Add Recipe Functionality
Deployment
1. Choosing a Platform
I chose to deploy the app on Render, which I've found developer-friendly and offer seamless integration with GitHub for continuous deployment.
2. Deploying the Project
- Deployment: I pushed the code to GitHub, and Render automatically built and deployed the app.
User Feedback and Iteration
1. Initial Launch
I shared the app with friends and family and encouraged them to provide feedback. I specifically asked for their thoughts on usability, design, and any bugs they encountered.
2. Collecting Feedback
I collected feedback through surveys and direct conversations. For example, users appreciated the clean design but suggested adding a feature to filter recipes by dietary restrictions (e.g., vegetarian, gluten-free).
3. Implementing Improvements
Based on the feedback, I implemented several improvements:
- Filtering: I added filters for dietary restrictions and other categories.
- Enhanced Search: I improved the search functionality to include partial matches and ingredient-based searches.
- Bug Fixes: I fixed bugs reported by users, such as issues with image uploads and recipe saving.
Reflection and Next Steps
Creating the digital recipe box app was a rewarding experience that taught me a lot about full-stack development, user-centered design, and iterative improvement. Here are my next steps:
- Mobile Optimization: I plan to optimize the app for mobile devices to enhance the user experience on smartphones and tablets.
- New Features: I’m considering adding features like meal planning and shopping lists to make the app even more useful.
- Open Source: I’m thinking about making the project open source so other developers can contribute and learn from it.
Building this app has been an incredible journey, combining my love for cooking and coding into a project that’s both fun and functional. I hope my experience inspires you to embark on your own project journey. Happy coding and happy cooking!
Deployed App: https://ga-project-2.onrender.com/